By Heze Green Future Biotechnology Co., Ltd.
There is a version of mealworm farming advice online that reads like it was written by someone who once watched a YouTube video about insects. Vague. Surface-level. Full of “approximately” and “it depends.”
This is not that guide.
At GreenFut Biotech, we run over 120 standardized breeding greenhouses across five major bases in Heze, Shandong. We produce more than 6,000 tons of dried mealworms annually. We have made the mistakes, lost the batches, and figured out what actually works — at scale, in real conditions, over nearly a decade.
What follows is what we know to be true.
First, Understand What You Are Working With
The mealworm (Tenebrio molitor) is not actually a worm. It is the larval stage of a darkling beetle — and like all holometabolous insects, it passes through four distinct life stages: egg → larva → pupa → adult beetle.
Each stage has its own environmental requirements, feeding needs, and management challenges. The single most common reason beginners fail is treating all four stages the same way. They don’t work the same way. Manage them separately, and you are already ahead of most first-time growers.
Stage 1: Setting Up Your Environment
Temperature is everything.
Mealworms can survive between 10°C and 32°C, but “survive” is not your goal — growth and reproduction are. The optimal range is 25–28°C. Below 5°C, larvae enter dormancy and stop feeding. Above 35°C, mortality rises sharply. At 38°C, a colony can collapse within days.
If you are farming in a region with seasonal temperature swings, invest in heating and ventilation before you invest in more insects. A dead colony in August because of a heatwave is an expensive lesson.
Humidity: the number that beginners ignore.
Target 60–70% relative humidity in your facility. Feed moisture should sit at 10–15%. The critical rule: no standing water, ever. Mealworms do not drink from water sources — they extract moisture from their food. Open water in a breeding tray causes mold, drowning, and disease spread faster than almost anything else.
Light: less is more.
Mealworms prefer darkness, and breeding adult beetles actively require it. During the egg-laying period, even moderate ambient light can suppress mating behavior and reduce egg output significantly. Use opaque trays, keep the facility dimly lit, and never position breeding trays near windows.
Ventilation: non-negotiable at scale.
Poor airflow causes ammonia buildup from frass accumulation, which stresses the colony and invites disease. In a standard greenhouse setup, cross-ventilation with fans running at low speed is sufficient. Do not seal your facility airtight in an attempt to control temperature — you will trade one problem for a worse one.
Stage 2: Equipment You Actually Need
You do not need expensive equipment to start. You need the right equipment.
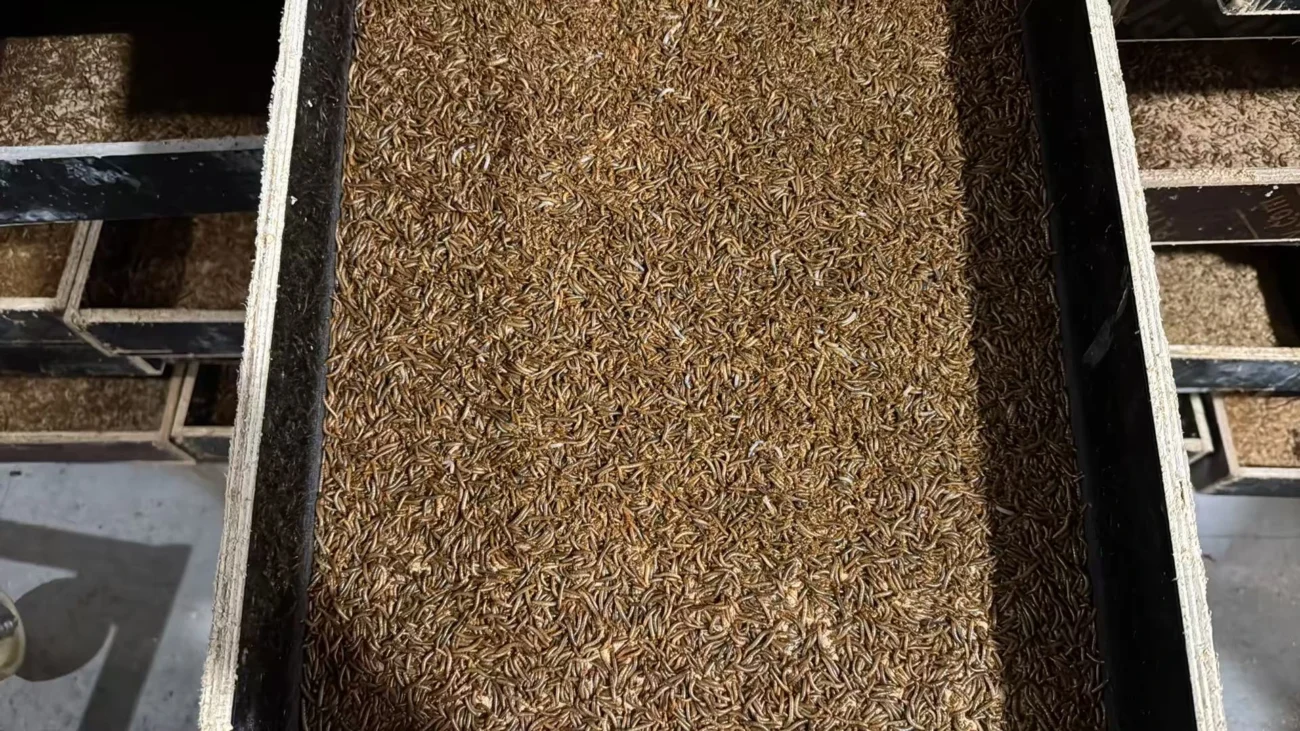
Breeding trays: Smooth interior walls — this is critical. Mealworms are surprisingly good at escaping textured surfaces. Standard size: 50cm × 30cm × 10cm, wood or plastic. Plastic is easier to sanitize; wood holds temperature more evenly.
Shelving racks: Multi-tier metal racks, approximately 1.8m tall × 1.0m long × 0.35m wide. A 20m² room can accommodate 300–400 trays. Height matters — ground-level trays often run slightly cooler and may have higher humidity. Account for this in your placement strategy.
Sieve mesh sizes: This is where most small operations cut corners and regret it. You need three:
- 12-mesh for separating eggs from adult frass
- 30-mesh for sifting larval frass
- 60-mesh for isolating newly hatched micro-larvae
Using the wrong mesh size wastes hours of labor and damages larvae. Get all three before you start.
Egg-laying substrate: Newspaper or plain white paper placed beneath the adult tray. Adults lay eggs through the mesh onto the paper below. Replace daily.
Stage 3: The Four Life Stages — Managing Each One Correctly
Adult Beetles (Egg Production Stage)
After pupae hatch into adults, place them into breeding trays at 25–32°C, 65–70% humidity. Do not feed them for the first 3 days — this is a period of physiological adjustment post-eclosion. From day 4 onward, feed a mixture of 85% wheat bran + 15% fresh vegetable matter.
One female beetle can lay between 30 and 350 eggs in her lifetime of 3–4 months. That is a wide range — and it reflects how much environment matters. Poorly managed adults at the low end; well-managed adults at the high end. Adult populations decline in egg output after roughly 10 weeks. Rotate in fresh cohorts consistently.
Egg Stage
Collect egg-laden paper daily and transfer to incubation trays. Optimal density: 80,000–100,000 eggs per square meter. Keep same-age batches together — mixing cohorts leads to cannibalism at later stages. Temperature: 25–30°C, humidity: 65–70%. Incubation time: 5–7 days under ideal conditions.
One important rule: do not disturb the egg trays. Vibration damages eggs before the embryo fully develops. In a commercial setting, designate egg-incubation areas away from foot traffic and machinery.
Larval Stage (The Heart of Your Operation)
This is where the money is made — or lost.
Feed newly hatched larvae immediately: 80% wheat bran + 8% soybean meal + 12% fresh greens (cabbage leaves, carrot shavings, pumpkin, apple peel). Fresh greens provide moisture and vitamins; do not skip them, but ensure they are washed and air-dried to remove surface water before introduction.
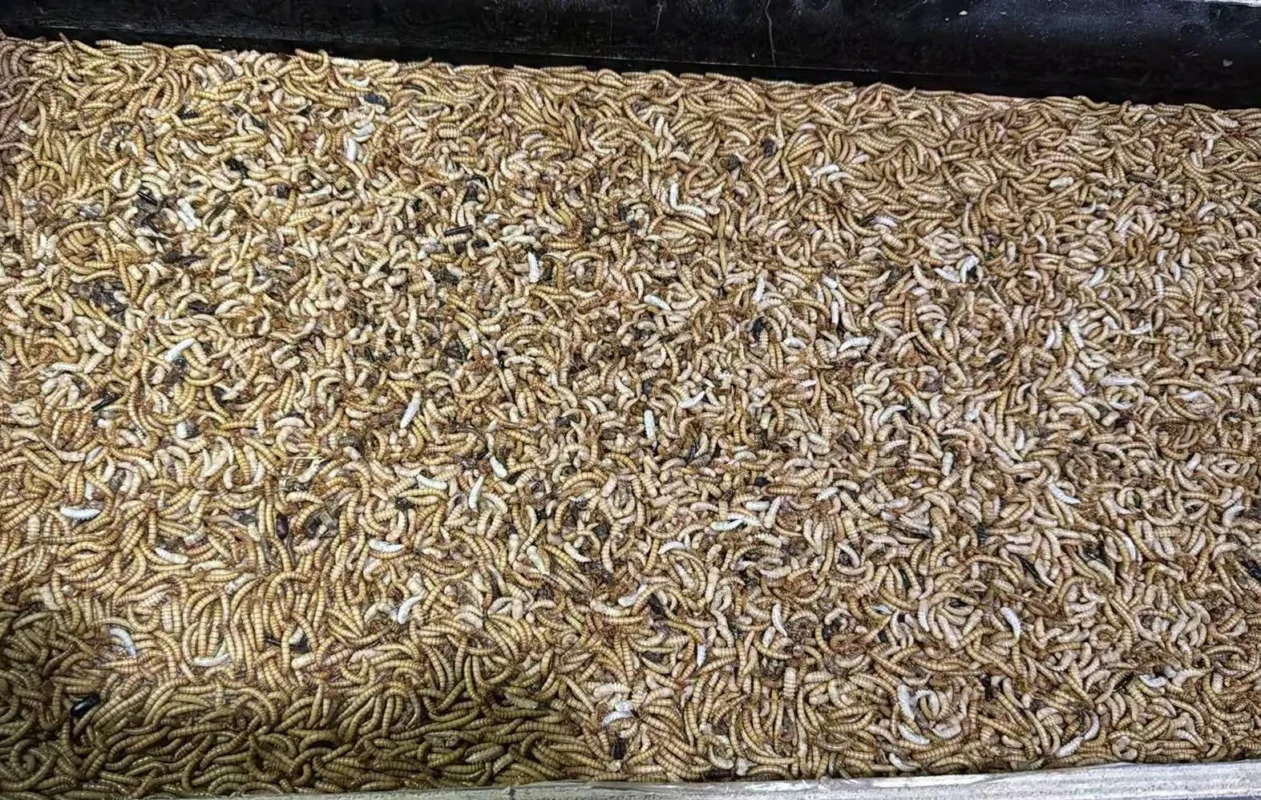
Larvae molt 10–15 times over their development period. After each molt, sift out frass and replace feed. Frass left to accumulate creates a humid, pathogen-friendly environment — the primary cause of bacterial disease in larval colonies.
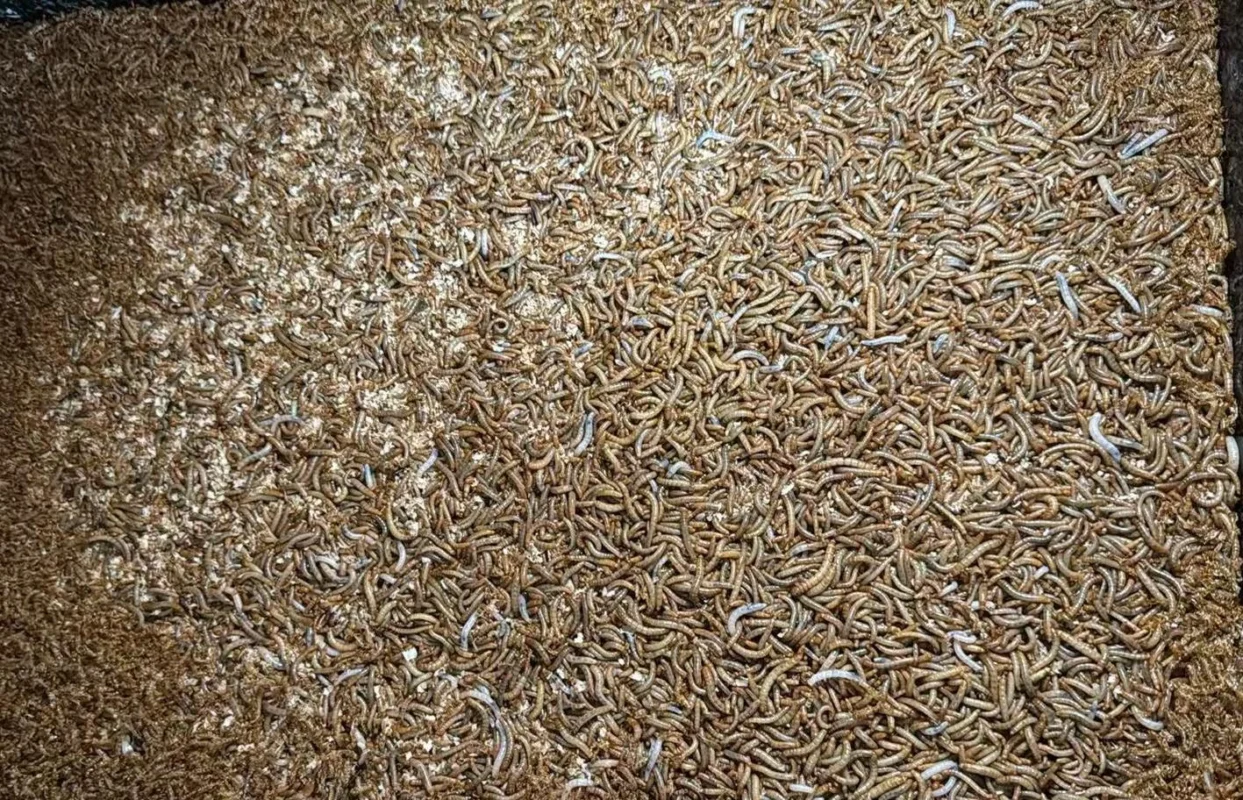
Critical density control: Keep larvae at 2–3 kg per tray. Overcrowding is the fastest route to aggression, disease spread, and stunted growth. Separate large and small larvae; larger individuals will consume smaller ones given the opportunity.
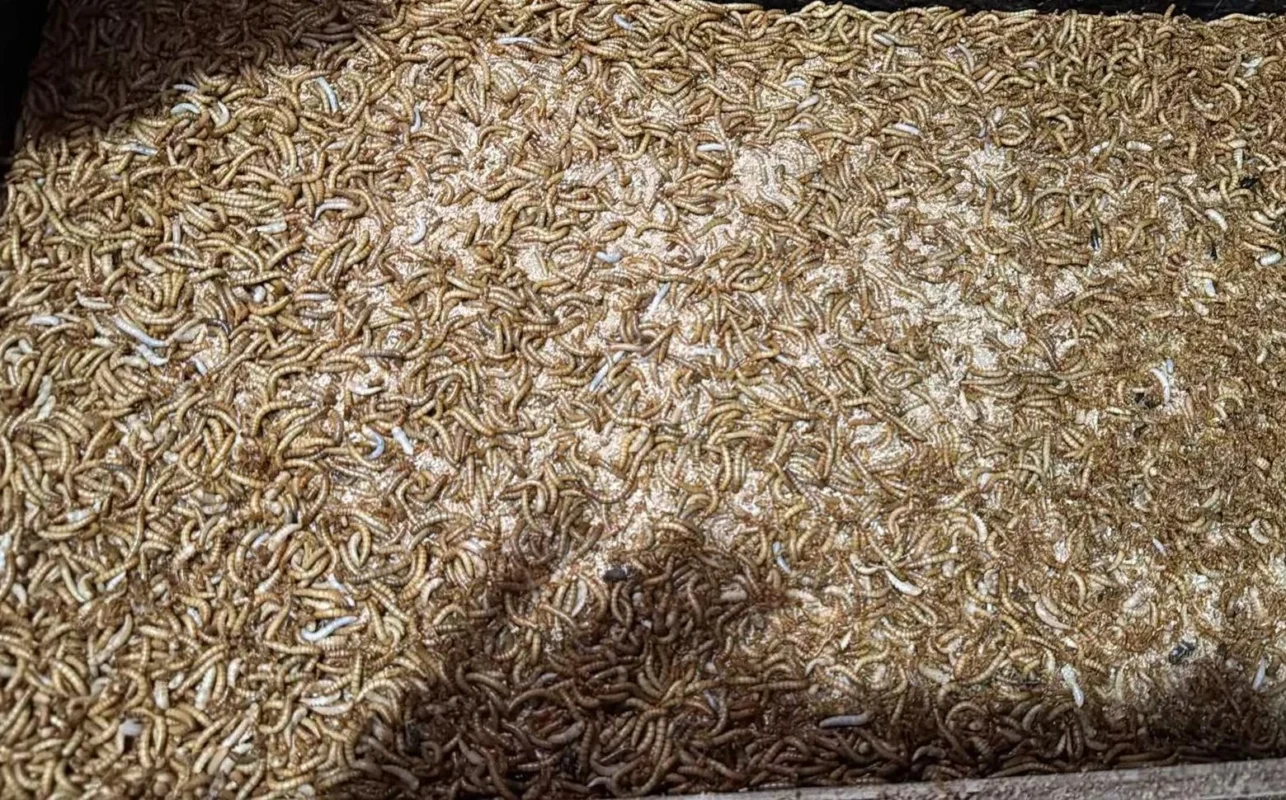
Larvae are harvest-ready when they reach 3–4 cm in length, typically requiring 60–90 days from hatch under optimal conditions.
Pupal Stage
When mature larvae begin to pale and slow down, they are preparing to pupate. Remove them promptly and transfer to dedicated pupation trays lined with 1 cm of wheat bran. Spread pupae in 1–2 layers maximum — stacking deeper causes suffocation.
Maintain 25–30°C for a 6–8 day eclosion period. At 10–20°C, this extends to 15–20 days. Check trays daily and remove any blackened, reddened, or softened pupae — dead pupae attract bacteria and spread infection rapidly.
Stage 4: Feeding — The Details That Separate Good Farms from Great Ones
The base feed for mealworms is wheat bran (60–80%), supplemented with corn flour and soybean meal for protein. This is widely known. What is less discussed is the quality of that wheat bran.
Moldy, clumped, or chemically treated bran causes colony-wide health problems. Source your bran from reliable agricultural suppliers and inspect each batch before use. A batch of bad feed can set a colony back by weeks.
Fresh greens are not optional — they are the primary moisture and micronutrient source. Rotate between cabbage, carrot, pumpkin, and seasonal vegetables. Introduce greens in the morning when temperatures are lower; this slows surface water evaporation and reduces mold risk.
Never overfeed. Uneaten feed accumulates moisture and mold within 24 hours. The principle is simple: feed what can be consumed within one feeding cycle, then reassess.
Stage 5: Disease Prevention and Daily Management
Most mealworm diseases are preventable. The causes are almost always one of the following:
- Overheating (above 35°C)
- Excess moisture (condensation, standing water, overly wet greens)
- Overcrowding (poor airflow, high frass accumulation)
- Cross-contamination (mixing sick and healthy colonies)
Isolate sick trays immediately. Remove dead individuals daily. Do not introduce insects from external sources without a quarantine period of at least 7 days.
Pests to watch for: cockroaches, ants, and rodents. A smooth-walled tray prevents mealworm escape — but does nothing about external intruders. Keep facility perimeters sealed and use physical traps rather than chemical pesticides near active colonies.
Scaling Up: From Home Trays to Commercial Operation
A home operation running 20–30 trays in a spare room is manageable with manual feeding and weekly cleaning. Once you cross 200+ trays, the math changes. Manual labor becomes the bottleneck.
At our scale — 120+ greenhouses across five bases — the operational difference comes down to three things:
- Standardized tray design: Every tray behaves predictably. There are no improvised containers that introduce inconsistent variables.
- Batch cohort management: Every colony is age-tagged. We know exactly which trays are at which lifecycle stage at any given time.
- Environmental monitoring: Temperature and humidity sensors in every greenhouse, with threshold alerts. A 2°C spike caught in 20 minutes causes no lasting damage. The same spike caught 8 hours later can destroy a batch.
For anyone moving from small-scale to commercial, the investment priority order is: temperature control first, ventilation second, feeding automation third.
A Final Note
Mealworm farming is not complicated, but it is unforgiving of inattention. The insects themselves are remarkably resilient — but the conditions they require are narrow enough that consistent management is non-negotiable.
At Heze Green Future, we started where many of you are starting now. The difference between a failed colony and a thriving one is usually not the insects. It is the environment, the routine, and the willingness to respond quickly when something goes wrong.
If you are looking to source premium dried mealworms, custom-packaged bulk mealworms (5lb/10lb), or defatted mealworm protein powder from a manufacturer who has built the systems to back up consistent quality — we are ready to talk.